Pages

Planning for the New Year (pt. 3)

Monday, January 5, 2015

Hey planner addicts, simple life advocates, and newbies! I'm so happy you're here to see what I have planned for you today! As promised, I wanted to finish up the tour of my planner before getting into the good stuff!

Let's get started!


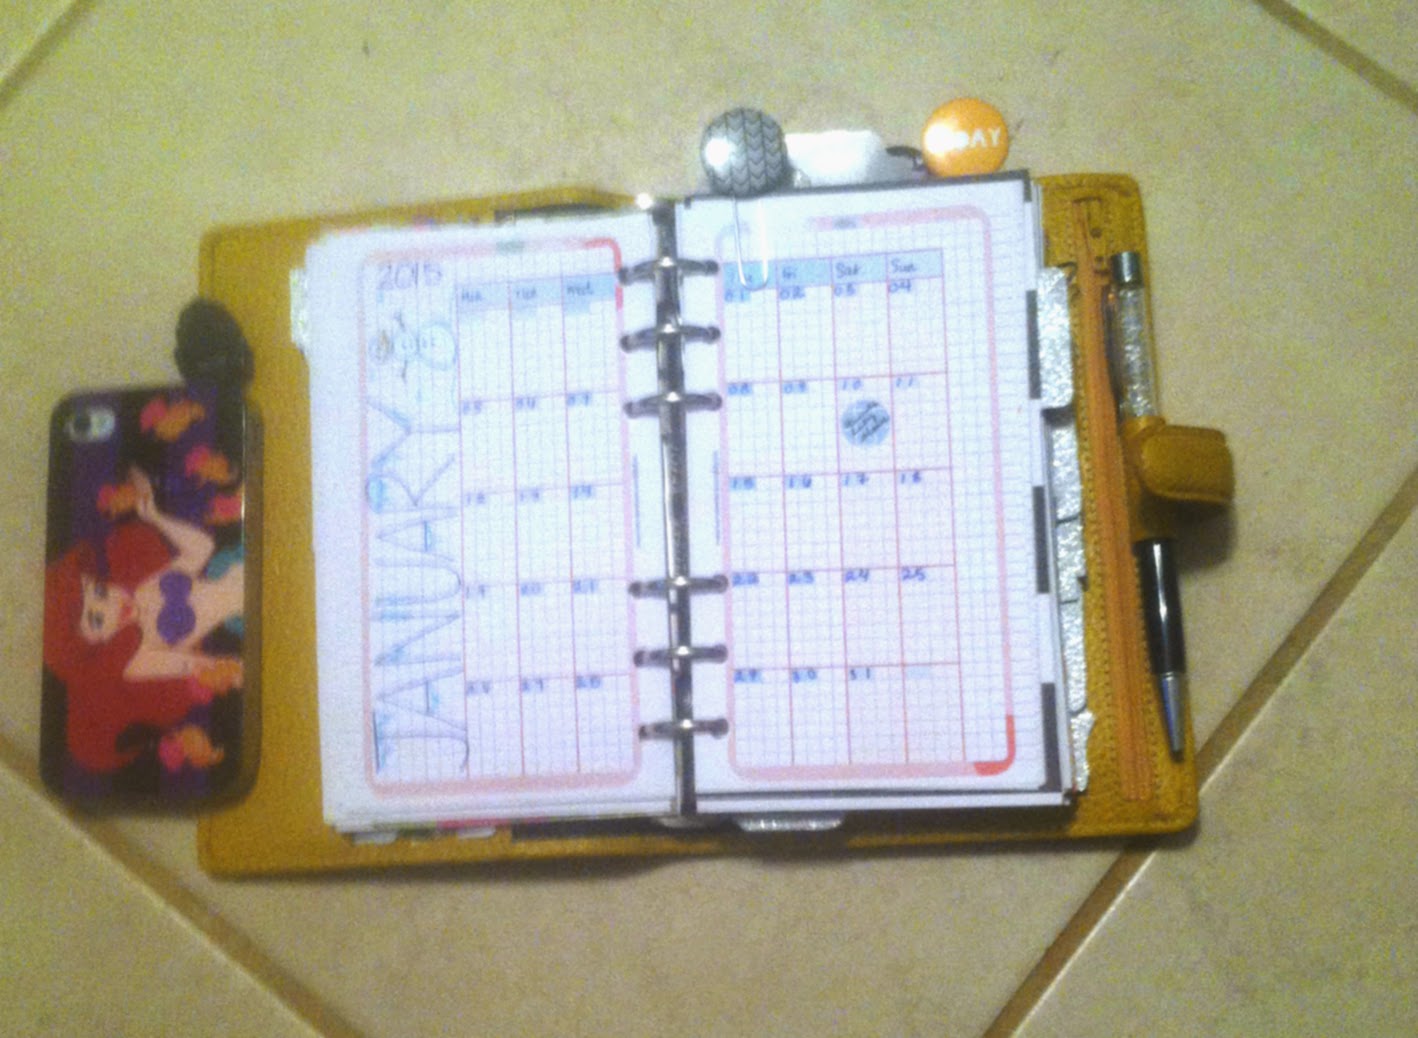
Alright, so I'm hoping these pictures show up just a smidgen better for you all! I retook them in better, natural lighting! Anyways, that picture above is my third divider! It's exactly where we left off, right behind my weekly calendar inserts. If you're a newbie, WELCOME, you can get caught up by checking out the first and second post to this series! This divider marks my lists and notes section.


The first page in this section has all of my New Year's Resolutions, and all of the notes I took while watching Vienna's (My_Planner) interactive goal video


The next thing you'll notice is this page marker that came with the Filofax planner. I covered it with silver sparkly washi tape, and it marks the first open note page that I have. I did this so that when I'm in a hurry or standing in the check out line, I can easily locate and flip right to an open page.


The second page marker I have in this section is a Project Life Divider. This marks the beginning of my lists. 

As you can see my lists are just pieces of paper that I continually add onto. I currently have four running lists in my planner - Home Projects, Wish Lists, Blog Ideas, Ethan (my husband) Gifts.


Now we're moving on my next major divider. This section is my financial section.


In my financial section I have this little envelope that I DIY'd, in which I put important receipts! Then on the right, you'll notice a check book balance. I didn't really feel like my check registry was something you needed to see, which is why I pixelated the amounts. However, most of the time I use this section to check and monitor our account balances weekly just so I have a good idea of what's in our account at all times. 

If you'd like to download this check registry which I edited myself, you can do that HERE.


This is my next divider which marks the beginning of my "health" section.


In this section I have my weekly workout routine, which you can see a blown up copy below, if you're interested. 

This page is marked with a flair button paperclip that I DIY'd! 


Isn't it cute? I really like having these top tabs for quick reference!


Right after my workout schedule, I have my vitamin and supplement list. I keep a running lists of things I'm taking, and things I want to try taking so that when I go to my next Doctor's appointment I don't have to remember everything! After this page, I have a similar list for Symptoms - also for my Dr. appointments!


And here's my last and final divider, marking my puppy's section!


The first thing I have in this section is a small project life card that has Olivia's (my puppy's), routine. If you don't know this already, it is absolutely essential to have a consistent food and potty schedule in order to potty train your dog. 


Next I have an insert I designed myself that is designated to Olivia's vaccinations - which vaccines she needs, when, and if she's received them!


Last in my planner is a top loading envelope in which I keep TONS of stickers and dew drops!


___________________________END OF PLANNER TOUR_______________________________

I hope you've enjoyed this tour throughout my planner! I have one more surprise for you all! 


Since posting pictures on my Instagram of my DIY flair paper clips, I've gotten SO many comments and emails asking for a tutorial! Well here it is!


These are the supplies you'll need in order to make one of these clips! You'll need a hot glue gun, a pair of scissors, a paper clip, a flair, a project life card, and a pencil or pen (not pictured). 


This is just a picture of the flair I chose! I thought it would be PERFECT for my planner!


Your first step in this project is to trace around your flair onto your project life card! (I flipped mine over on the journaling side to see my marks better!) This is also a great time to plug in that hot glue gun so it's nice and warm by the time you're ready to use it!


Here is what it looked like when I was finished! As you can see, it's not a perfect circle, and I'm not a perfectionist! However, this paper clip still turned out great!


Your next step is to just cut the circle out. For a better fit, cut inside of the line. (not on or around it)


You may have to trim your circle down a little bit for a better fit, but I didn't have to do that too much. 


This may be an extra step for some, but I found it easier in the long run! I like to line my paper clip up and hot glue it FIRST to the flair. In doing this first, I can be absolutely positive that the clip is centered and double check I have the two rounded edges pointed down. Also notice that I glued the clip almost directly in the center of the flair. (not on the very edge of the flair) I found it looks nicer, sits lower in my planner, and is also way more sturdier than if I put it higher up. 


Once that glue is cool, I lather the back side with hot glue one more time!


Then I simply place the paper on the back, adjust as needed, and press down. WARNING: If you're like me (an OVER-gluer), hot glue WILL seep out! An easy fix for this is using the edge of your project life card to scrape around the sides. This will not only smooth your edges, but it will also get rid of any excess glue! 


Final product!


Here it is in my planner! I love the look AND functionality of these! They serve as such a great decoration and page marker! 

Now I have one more surprise for you! 

Some of you may be thinking, "where the heck do I get a flair?" Well, I purchased mine from a little etsy shop called:


Every single one of my flairs was purchased from her shop! Her prices are great and she literally has hundreds to chose from! She was also so inspired by this DIY, that she created two entire sets dedicated to the planner lover!


Here is just ONE example of her work! Now, if you're planning to order from her to DIY some paperclips yourself, be sure you specify that you want the FLATBACK flairs in your purchase! 

Oh,and it wouldn't be a good tutorial if I didn't supply you with this:


CLIPS2015

After Shelley, the own over at "AFlairForButtons" found out I was going to be doing a tutorial and mentioning her flairs, she so kindly offered this coupon code for 10% off your next purchase! 

This offer will last to the END of JANUARY! 


_________________________END OF TUTORIAL_____________________________________


Now that we have all that business taken care of I'm so excited to talk to you about the upcoming series called 

"Whole-Life Simplified"

My collaborators have been working so hard, in the midst of vacations, family crises, and more to get this series to you! I couldn't be more grateful! This Thursday we're going to kick off with Ash, from Blush and Bling, and she's going to be talking about simplifying your wardrobe!

Then get ready for TONS of motivation for all you who made a New Year's Resolution to get healthy. Kelly over at Kelly's Fab Fitness is going to be sharing her story with us and giving us tips and tricks to make health a constant and consistent habit. 

Then, we'll close with a simplified planner post by Janette Lane! All the while I'll be talking about how I'm taking these bloggers tips and tricks and applying them to my own life. 

So excited to start this year with you! 

Don't forget to follow me on Instagram - @Aubrey.Eastway 


I'm hosting a sweepstakes where you can win TONS of planner goodies along with a few flair paper clips! See you there!

Do something to simplify yo' life this week!

Love,
Aubrey


Planning for the New Year (Pt. 2)

Thursday, January 1, 2015

Hey ya'll! Welcome back to 528squarefeet, a blog dedicated to the simple life. Can you believe that it's been a year since I last posted?? Okay, that was quite a cheesy joke I just couldn't resist!

HAPPY NEW YEAR!

When we last spoke, I showed you my pretty little planner Zesty! If you're visiting for the first time today, you can check that post out here, before we continue! A lot of you have been asking me what type of planner Zesty is, and I feel like such a ditz for not mentioning it!

Zesty is a Filofax Finsbury in yellow. She is a discontinued planner that I purchased from an amazing woman off the buy/sell Filofax Facebook Page. There are TONS of facebook pages that you can find where fellow planners/filofaxers can buy and sell their used planners! It's a beautiful thing...at least to me. :)

In my last post I promised to give you guys a special tour through my planner so that you can see my set up, and how I use it!

So, without further ado. Let's get to it!


I love the color of this fins! It changes depending on the light, but it's so bright and cheerful I can't help but want it within reach at all times!


This is the side view so that you can see how thick it is! It's not too chunky, but it's got some bulk to it! Oh, and sorry about my phone, you'll see it a lot since my finsbury isn't trained to lay all the way flat just yet! (PS. I love the Little Mermaid!)


I absolutely love the top of my planner! It has so many tabs and page markers giving it such an eclectic vibe. If you don't know already, I did a black, white, and yellow theme throughout the entire thing! Let's open her up!


Nothing special on the inside dashboard, I just mounted some Target DollarSpot page flags onto a homemade divider, and used a star paperclip to keep a Project Life Card on the front as well! Once again, aren't those top tabs the best? I also love the little bit of sparkle I get from my washi taped divider tabs, and my cute crystal pen! I scored that pen at Michael's for $2!!


Immediately behind my dashboard I keep a stocked page full of page flags and sticky notes! Every last one of those sticky notes were RAK'D (Random Acts of Kindness, aka, given), to me by the same awesome lady who I purchased the planner from! My next divider marks my CALENDAR section. The first thing I have in there is MsWenduhh's 2015 yearly overview calendar! The image below is a clickable link to download it yourself for FREE!


I use this basically to have a quick reference for work breaks and school vacations! 


I want to apologize for my poor lighting, however, using my phone for pictures is the best I can do at the moment! Saving up for a better camera, ya'll! Anyways, immediately behind my yearly overview I have my "month at a glance" section. These inserts are a part of the "Amazing Life" collection by DIYFish on Etsy! Here is where I quickly pencil in any appointments, special days, events, paydays, bill due dates, etc. I use these pages as a reference point to fill out my next section a week on two pages.


I would love to show you how it looks like sitting in my planner, however, once again, my lighting tonight was terrible! These inserts are from whatshewas on Etsy! They are an instant download and a printable you cut and punch yourself! I love these printables because of the graph paper on the right! I write so much neater with gridlines, and I can make more even lists on them! 


Here is an example on how I've been using these inserts! I use a project life card for to do lists, the left dated side for important happenings/reminders, and then I use the grid to jot notes, write my daily Bible Readings, decorate, draw, etc. Since this is the first week of the year, I decided to use the grid to write my New Year's Resolution. 

See I used to make New Year Resolutions every year, and I NEVER, EVER, EVER stuck to it. That is until last year when I happened on a website dedicated to "One Little Word." One little word is about New Year's Resolutions. The only difference is that instead of dedicating your year to one specific goal, you dedicate your year to one specific word. 

Last year I chose the word "Conscious", which spurred this whole simple living journey to begin with. I made it a personal goal to become more health conscious, spiritually conscious, conscious of who I am, conscious of what I using, buying, eat, drinking, etc. etc. It was a huge success! I am healthier, more in tune with God, and downsized from a 1500 square foot home to a 528 square foot home. 

So - this year I have decided to dedicate my year to the word "SIMPLE". 

I want to

  • Simplify my Life even more by
    • dowsizing my wardrobe
    • simplifying my idea of "healthy"
    • I want to begin noticing and documenting the "little things"
    • I want to spend more time for me
      • spiritually
      • physically
      • etc.
In essence I want things to be simple, more simple.


Which brings me to my BIG NEWS!


I am starting a NEW COLLABORATION with some of the most amazing women ever! I currently am working with 


Each of these ladies are so inspiring in their own way! And each are going to be guest posting here at 528squarefeet to share their experiences and expertise in "simplifying" different section's in our lives! 

I HIGHLY recommend you go check out their blogs to see the super awesome things they have going on over there! Ash, over at Blush and Bling is an up and coming fashion blogger that is going to be showing us how we can simplify our wardrobe but still maintain our style! 

Janette is a super crafty wonder woman, that is going to be discussing how we can simplify and downsize our planner obsessions.

And last but DEFINITELY not least, Kelly is going to be stopping to talk about her INCREDIBLE weight loss journey with tips and tricks on how not to over complicate the process! She's going to be simplifying our health ya'll!

I hope you're just as excited as I am about this blog series because I'm going to leave you guys with that! I hope you come visit me on Monday to see the rest of my planner and how I've been setting unique goals and check points to reach a more simplified lifestyle by next year! 


Here's to the simple life!
Love,
Aubrey


Planning for the New Year

Monday, December 29, 2014

Welcome, welcome, welcome ya'll!

As you can tell I am so super rested from my recent holiday vacation to Florida to see my family! If you want to see pictures of our fishing trip or my several shopping hauls be sure to follow me on Instagram! (@aubrey.eastway)

Okay, enough with the shameless social media plugs. On to our topic right? First, let me introduce you to my newest obsession, true planner love. Introducing...


Why yes, I am one of those people that name their planners. #noshame. Named "Zesty" after "Lemon Zest" I can't help but smile every time I glance at it! However, I really wanted to tell you why I am so in love with it, besides its vibrant color.

This is a tool. It has helped me in my everyday planning, in keeping track of expenses, in monitoring my water intake, scheduling all my appointments, and it's also a release for my creativity. Not only can I maintain a level of consistent productivity but I can also do it in a crafty way.


Isn't that little bow cute? Well it's a DIY! You can find templates and tutorials all over the place! But I highly recommend the one over at one of my favorite vlogger/blogger, Alexis' blog, Strange and Charmed! She is seriously the bomb.com. You can also click on the picture below to be taken to her super informational video with instructions to DIY the bow yourself! 

DIY Planner Bow Clip

If you don't have a planner for the new year, I highly recommend getting one. It doesn't have to be a Filofax or an expensive one. You can get super cute ones at Target - spiral bound, ring bound, or just bound! You can literally personalize any and every planner on any budget, with a little ingenuity and creativity of course! 

Enough of my planner obsessed rant. I wanted to show it to you so that I could really drill in this one idea.

If you want to reach your goals, you have to plan for them. 

I realize that some of you don't need to have everything on paper in front of you like I do. I also know that there are some pretty sweet apps and online calendars that can prove to be very beneficial to the techy in us all. But you have to plan to reach your goals. You absolutely have too! You need to have ways to check your progress, and the only way you can do that is by planning check points. 

Think about it. This time of year is all about setting new goals and starting fresh. Anyone can chase after a dream for a month, but it takes dedication, planning, and enthusiasm to preserve that drive! Having manageable bite size chunks that progressively lead up to reaching and maintaining your goal is the best and most efficient way to reach them. 

On Thursday, I plan on taking you through my entire planner, discussing my New Year's Resolution, having a printable available for your use and download, and also announcing some really exciting news! 

Keep coming back because I have so many ideas and fun things planned for the New Year!

HAPPY NEW YEAR!
Aubrey


Savoring the Holiday Spirit

Sunday, December 21, 2014

Welcome back to the Christmas Collaboration between myself and Emily over at Createyou86! As you can see from the post title we're going to be talking about Christmas spirit.


The best way to spread Christmas cheer, is singing loud, for all to hear.

We've all heard this quote right? If you haven't, I highly suggest that you flip on your tv, and go check out the movie, "Elf." It's literally one of my favorite Christmas movies of all time. It's so hilarious and I find myself enjoying different parts of the movie each year I watch it. It's a family tradition.

I wanted to talk to you about tradition.
 
My husband and I got married last year in June, and shortly after that my parents moved to Florida some thousand of miles away from us. Now, for me, Christmas is kind of a big deal. My family has traditions out the wazoo. For my husband, however, Christmas had more of a biblical principle more than anything else....not suprising coming from a pastor's kid. :)

So, our first Christmas together was....confusing and hard. Why? Because our traditions were different. Take this story for example.

Every year since I was baby, my family would have our annual Christmas tree decorating night. We would put on Christmas music, decorate the tree - dad does lights, ladies do ornaments - and then we'd watch "How the Grinch Stole Christmas."

Well Ethan and I...didn't. Our tree sat bare for the majority of the holiday season until I frustratingly decided to decorate the tree myself. To my dismay, I couldn't get the lights to look like my dads. I remember him specifically saying "you just push them in, to make your tree look pre-lit." Now just picture a frustrated 20 year old woman frantically pushing in Christmas lights, breaking a sweat, getting scratched, cursing under her breath, and on the verge of tears while an innocent husband looked on.

Then my knight and shining armor came....and I cried some more. The lights were NOT pushed in! They did NOT look like my dad's! And if I'm telling you the truth, our lights on our tree this year still do NOT look like my dad's.

So as I set on the couch balling my eyes out, reminiscing the memory of my own family traditions, my sweet husband sat next to me and tried to comfort me, having no idea why I was crying. "My....dad.....usually..d.d.d...does....the....lights." I managed to sob out in a hot mess.

And do you know what my sweet, wise, Godly, husband said.

"We will learn to make our own traditions."

And we have.

Every Thanksgiving we go see a movie, every Christmas we end up giving each other our presents way early, we watch "Elf", we do things our way, and are still figuring everything else out.

And as we decorated the Christmas tree this December, I found myself thinking back on our last Christmas tree, and discovered something new.

Every year, Ethan has done the lights, and they have been Ethan's lights. Sure, they aren't pushed in, and they are quirky, and soooooo Ethan. But they are his lights. His contribution to Christmas. And I realized that it didn't matter what we did to celebrate Christmas.

We could have a family paintball fight, we could give each other the most horrendous presents, or we could basically do everything we do now. So long as did them, in the Spirit of Christmas, it would matter. It would make Christmas. We would feel Christmas.

Remember, it's not about what you do, how great your tree looks, or if your stockings are hung in a row. It's why you do, and that you do it, in the Spirit of Christmas.


Christmas Card Bonanza!

Wednesday, December 17, 2014

Welcome back everyone! I hope you are finding your Holidays to be a lot simpler! I am so glad you stopped by today because I have such a treat! Are you ready??


It's a printable Christmas Card just for you! If you and your family are the Christmas card giving type - and you haven't found the perfect card yet, or don't want to pay for a bunch - then by all means give this printable a try! You can find and download it HERE! It's FREE and SUPER cute!

All that's left for you to do is print them out on some nice card stock, cut, and send! I also send my printables as post cards so I can skimp on the envelope cost!

I hope you enjoy this little gift from me to you!

Merry Christmas,
Aubrey


Gift Giving 101!

Monday, December 15, 2014

Welcome back to our "Simplifying the Holidays" series! Today we're going to talk about gift giving. The where and the what! I've been thinking about this post a lot and have been unsure on how to go about it. It's difficult to say that what I would give to someone, you would also, because gift giving is about the giver, not the gift! I talk more about that in "The B Word".

Because I talked about how to gift for the hardest people in your life, I decided to create a list of "stereotypical gifts" for those that you know well, but aren't sure exactly what to get them. Below you'll find a list of stereotypes and a list of gifts per. It was my objective to create a list that includes all price ranges, so I hope you find this helpful!

"The Fitness Fanatic" -


  1. Wireless Headphones - I found mine at TJ Maxx for $40.00
  2. Cliff Bars - Can find at almost any grocery store!
  3. Hair Ties and Headbands! Get these here.
  4. A New Water Bottle - decorate it yourself, or find one at any store!
  5. Pay for a few months of their membership!

"The Coffee Lover" -

  1. A cute new mug! Find this one here. 
  2. A coffee Cozy! Get it here.
  3. DIY a coffee scrub! Many recipes found online!
  4. DIY chocolate covered spoons! Get the look here
  5. ANY coffee lover would LOVE to have a Starbucks Gift Card as well!

"The Beauty Queen"


  1. DIY a cute make-up brush holder!
  2. Nail Polish! (OPI - Dulce de Leche)
  3. EOS Lip Balm - found at almost any department store.
  4. Betsy Johnson Cosmetic Bag - Get it here.
  5. ULTA Gift Card

"The Planner Addict"


  1. Cute Pens! Get these here.
  2. Planner Stickers! Get those here.
  3. An Erin Condren Life Planner. You can get that here.
  4. Cute paper clips. Get the owl here!   

"The Book Lover"


  1. Book Ends - get the owl ones here
  2. Book Marks - get this one here.
  3. Book Initial - get one similar here.
  4. Great Gatsby Necklace. Here.
  5. Barnes and Noble Gift Card


Those are the most common stereotypes I can think of at the moment! But if you think of one and you'd like to know how I'd gift for them, feel free to leave a comment and I'll do my best to shop around! I hope these ideas have made your Holiday shopping a little easier! Christmas is only 12 days away can you believe it!?

Don't forget that Emily over at Createyou86 also posted today on gift giving so be sure to check her out! Check back next time for "Christmas Card Bonanza!" Until then, live simply today.

Love,
Aubrey